


A healthy garden should look effortless, but anyone who has spent a hot Australian summer dragging a hose from one garden bed to another knows the truth. Keeping plants watered can quickly become a daily chore. A properly planned irrigation system installation changes that by delivering water directly where your plants need it, while helping you manage time, coverage and water use.
For Berry homeowners, drip irrigation can suit garden beds, vegetable patches, shrubs and landscaped areas particularly well. Instead of soaking everything in sight, the system releases controlled amounts of water close to plant roots. I always recommend starting with the garden rather than the equipment because good irrigation begins with understanding what you are actually trying to water.
If you are considering professional plumbing or irrigation assistance, you can explore ALPM Plumbing & Maintenance services to understand how a local professional can help with your project.
What Is Drip Irrigation and Why Does It Work?
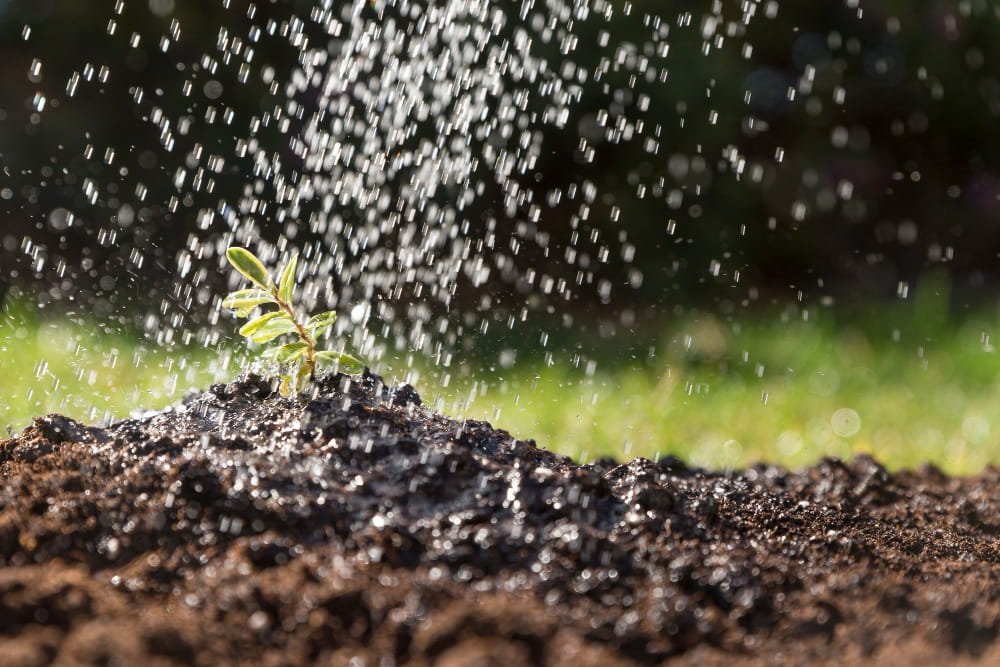
Drip irrigation uses tubing, emitters and connectors to deliver water slowly and directly to the soil around plants. Unlike conventional spray irrigation, it does not need to throw water across an entire area. That makes it particularly useful where individual plants have different watering requirements.
A successful irrigation system installation starts by dividing the garden into practical watering zones. A lawn might need one approach, while established shrubs, raised vegetable beds and newly planted areas may need another. By separating these areas, you can control watering more accurately instead of giving every plant the same treatment.
The real advantage comes from precision. Water reaches the root zone rather than simply wetting leaves, paths or nearby paving. That can make the garden easier to manage and can reduce unnecessary water loss when the system is correctly designed and maintained.
Step 1: Assess Your Berry Garden Before Installation
Before starting an irrigation system installation, walk through the entire garden and look at how the space actually functions. Note the location of lawns, garden beds, trees, shrubs, vegetable areas, pots and newly planted sections. Also consider slopes, shaded areas and places where water could collect naturally.
Berry gardens can contain a mix of established plants and newer landscaping, so one watering pattern rarely suits everything. A mature tree may need very different treatment from a small herb garden. I prefer to group plants according to their water needs because this creates a much more practical system.
You should also identify the available water source and check the existing pressure. Water pressure affects how many emitters or irrigation outlets a zone can support. If you ignore this during planning, the system may perform beautifully at one end of the garden and disappointingly at the other.
Step 2: Create Irrigation Zones
The next stage of an irrigation system installation involves dividing the garden into zones. Think of each zone as its own little watering department. A vegetable garden could have one zone, ornamental garden beds another and lawn areas a separate system altogether.
This approach allows watering times to match plant requirements. Plants that prefer consistently moist soil can receive more frequent watering, while drought-tolerant plants can receive less. It also makes future changes easier because you can adjust one section without disrupting the entire garden.
Simple Zone Planning Guide
| Garden Area | Suitable Approach | Main Consideration |
| Vegetable beds | Drip lines | Consistent root-zone moisture |
| Shrub beds | Individual emitters or drip line | Plant spacing |
| Young plants | Adjustable emitters | Changing water requirements |
| Large lawn | Sprinkler system | Even surface coverage |
| Pots | Micro-drippers | Small soil volume |
| Mature trees | Deep watering arrangement | Root-zone coverage |
A carefully planned irrigation system installation should reflect the garden’s layout rather than forcing the garden to fit a standard kit. That small difference can have a big impact on performance.
Step 3: Choose the Right Drip Components
Once the zones are mapped, choose the components that match them. Typical systems use a connection point, filter, pressure regulator, mainline tubing, smaller distribution tubing, emitters and end fittings. An automatic controller can then manage watering schedules.
Not every emitter delivers water at the same rate. Some release water slowly for individual plants, while others work better along continuous rows. Your choice should depend on plant spacing, soil conditions and the amount of water each area needs.
Quality components also matter. Cheap fittings can become frustrating when they pop apart, clog or leak. A professional irrigation system installation normally considers the complete system rather than simply buying the cheapest available parts.
Step 4: Install the Main Water Line
The mainline carries water from the supply point towards the individual irrigation zones. During an irrigation system installation, this line needs careful positioning so it can reach each area without unnecessary bends or awkward routing.
The line may run along garden edges, under mulch or through suitable sections of the landscape depending on the property. If you plan to bury sections, consider future gardening work before covering them. Nobody enjoys discovering a buried irrigation line with a shovel six months later.
A filter can help protect drip components from particles that could clog emitters. A pressure regulator can also help maintain suitable operating pressure where required. These small components often make the difference between a system that works reliably and one that constantly needs attention.
Step 5: Lay the Drip Lines Around Plants
With the mainline ready, the next part of the irrigation system installation involves positioning the drip tubing. Place emitters or drip lines close enough to the plants’ root zones to provide useful coverage, but avoid creating unnecessary loops and overlaps.
For rows of vegetables, continuous dripline can create even distribution along the planting area. For individual shrubs, separate emitters can offer greater control. As plants grow, you may need to reposition or extend the tubing so the watering pattern continues to match the root area.
Avoid placing tubing where garden tools, lawn equipment or heavy foot traffic could damage it. A neat installation does not only look better; it also makes future maintenance much easier.
Step 6: Connect the Controller
Automation is where an irrigation system installation becomes particularly convenient. A controller allows you to schedule watering without relying on memory or setting out with a hose every morning.
Modern controllers can offer multiple programs and seasonal adjustments. Some systems can also work with weather information or sensors, allowing watering schedules to respond more intelligently to changing conditions.
However, automation does not mean you can install the controller and forget about the garden forever. Plants change, seasons change and irrigation components wear. You should review watering schedules regularly rather than allowing the same programme to run year-round.
Western Australian government guidance encourages waterwise garden practices such as efficient irrigation, suitable plant selection and thoughtful watering. You can read the WA Government’s waterwise garden guidance for additional information.
Step 7: Test the System Before Finalising It
Testing is one of the most important stages of an irrigation system installation. Turn each zone on individually and walk around the garden while it operates. Look for leaks, blocked emitters, weak flow and areas receiving too much water.
Do not judge performance only from the first few minutes. Give the system enough time to show how evenly water reaches the soil. A pressure issue can become obvious only after several outlets operate together.
I also recommend checking connections after the first few watering cycles. Small leaks can develop around fittings as the system settles. Catching them early is much easier than discovering a soggy patch weeks later.
How Long Should a Drip Irrigation System Run?
There is no single watering duration that works for every garden. Soil type, plant maturity, weather, exposure and emitter flow all influence the correct schedule. A sandy garden may behave very differently from heavier soil, while a shaded bed can require less water than a sunny one.
The purpose of an irrigation system installation is not simply to run water for a fixed number of minutes. The real goal is to deliver enough moisture to the root zone without creating excessive runoff or waterlogging.
Start conservatively and observe your plants and soil. If the soil remains excessively wet, reduce the schedule. If plants consistently show signs of water stress, review the coverage and watering frequency rather than immediately adding more time.
Common Mistakes to Avoid During Irrigation System Installation
A good irrigation system installation can fail if the planning stage gets rushed. One common mistake involves using the same emitter arrangement throughout a garden even though plants have completely different watering requirements.
Another mistake involves ignoring water pressure. If too many outlets operate from one zone, the final section may receive much less water than the beginning. Poorly positioned tubing can also make maintenance difficult and increase the risk of accidental damage.
Here are the key issues I would check before calling the job finished:
- Uneven water distribution across the zone
- Blocked or damaged emitters
- Leaking connectors
- Incorrect pressure
- Poorly positioned tubing
- Watering schedules that do not suit the season
- Irrigation covering paths or paved areas unnecessarily
These details may seem minor, but they influence how efficiently the entire system performs.
Drip Irrigation vs Traditional Sprinklers
Choosing between drip irrigation and sprinklers depends on what you are watering. Drip systems work particularly well for garden beds, shrubs and individual plants because they place water near the root area. Sprinklers can make more sense for lawns and larger open spaces where you need broad, even coverage.
During an irrigation system installation, I would avoid choosing equipment simply because it looks familiar. Consider the landscape first. A sprinkler pointed at a narrow garden bed may wet the driveway just as enthusiastically as the plants. That is hardly a masterpiece of water management.
For mixed properties, you can combine systems. A lawn zone may use sprinklers while nearby garden beds use a dripline. This gives you more control and avoids forcing every part of the garden into one watering method.
Maintaining Your Irrigation System After Installation
Maintenance keeps an irrigation system installation performing properly over time. Check the tubing, emitters and connections periodically, especially after gardening work, storms or significant landscaping changes.
Blocked emitters can create dry spots, while damaged tubing can cause water to escape before it reaches the plants. Keep an eye out for unusually wet areas because they may indicate a leak rather than particularly thirsty plants.
You should also review the controller as seasons change. A watering schedule that worked during a hot period may provide far too much water during cooler or wetter weather. Smart adjustments can make the system more responsive and reduce unnecessary watering.
When Should You Consider Professional Installation?
DIY irrigation kits can work for small, straightforward gardens, but larger properties require more planning. If your garden contains several zones, long pipe runs, complicated landscaping or pressure issues, professional irrigation system installation can make the setup far easier to manage.
A professional can assess the water source, plan zones, select suitable components and test the completed system. That matters because the visible tubing represents only part of the project. Good performance depends on what happens behind the scenes as much as what you see above the soil.
Professional help can also be useful when you are upgrading an existing system rather than starting from scratch. Sometimes replacing a few components and redesigning zones makes more sense than ripping everything out and beginning again.
Irrigation System Installation for Waterwise Gardens
A thoughtful irrigation system installation should work with your landscape, not against it. Grouping plants with similar water needs makes watering easier, while mulch can help reduce evaporation around garden beds.
Waterwise gardening does not mean creating a boring garden. Berry homeowners can still create attractive outdoor spaces with trees, shrubs, vegetables and flowering plants while managing water more carefully. The trick lies in choosing plants and irrigation methods that suit the conditions.
It also helps to remember that more water does not automatically mean healthier plants. Overwatering can create its own problems. The best irrigation strategy delivers the amount plants need, where they need it, at an appropriate time.
Conclusion
A well-planned irrigation system installation can turn garden watering from a repetitive chore into a controlled, convenient part of your outdoor routine. From assessing your Berry garden and creating zones to selecting drip components, testing coverage and maintaining the system, every stage contributes to reliable performance. The biggest lesson is simple: design around your plants, soil and garden layout rather than choosing equipment first.
If you want a practical irrigation system installation designed around your Berry property, ALPM Plumbing & Maintenance can help you plan the setup and get the details right. Contact ALPM Plumbing & Maintenance to discuss your irrigation requirements and take the guesswork out of keeping your garden properly watered.
FAQs
1. How long does irrigation system installation take?
The time required depends on garden size, the number of watering zones, access, pipe routing and the complexity of the system. A small garden may require considerably less work than a large property with multiple zones and extensive landscaping.
2. Is drip irrigation suitable for Berry gardens?
Drip irrigation can suit many Berry garden areas, particularly garden beds, shrubs and vegetable patches. The ideal setup depends on plant type, soil, garden layout and available water pressure, so the system should match the property rather than follow a generic design.
3. Can I automate my irrigation system?
Yes. A controller can automate watering schedules and allow different zones to operate according to their requirements. Some modern systems also include weather or moisture-based features, although you should still review the programming as conditions change.
4. How often should I check my irrigation system?
A quick visual inspection every few weeks can help identify blocked emitters, damaged tubing and leaks. You should also check the system after landscaping work or whenever plants suddenly appear unusually dry or overly wet.
5. Can drip irrigation replace sprinklers everywhere?
Not necessarily. Drip systems work particularly well around individual plants and garden beds, while sprinklers can provide better coverage for lawns and large open areas. A combined system may make more sense on properties with different landscape types.
6. Should I install irrigation myself or hire a professional?
For a small garden with straightforward requirements, a DIY system may be manageable. However, complex layouts, multiple zones, pressure issues or extensive pipework can benefit from professional planning and installation. The right approach depends on the size and complexity of your garden.
